My tryst with the VOX tone lab ST
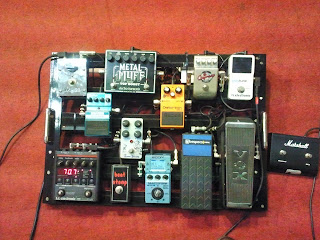
My pedal board was
becoming too big to handle (see pic)
and hence I was toying with this idea of using a processor (I know, some of you are making faces, nevertheless). While in Japan, I got to try the VOX Tone lab ST and I immediately loved it for its tone and simplicity. Needless to say, I picked it up. I used it at church and felt it could use some basic tweaks to make it even more simpler and effective.
and hence I was toying with this idea of using a processor (I know, some of you are making faces, nevertheless). While in Japan, I got to try the VOX Tone lab ST and I immediately loved it for its tone and simplicity. Needless to say, I picked it up. I used it at church and felt it could use some basic tweaks to make it even more simpler and effective.
Now this is what I wanted
(above and beyond the existing processor)
· To carry it to church and setting it up, I needed to carry the processor in the box along with the power supply (wall wart) and the necessary cables.
· I love delay pedals and delay pedals that have a “tap tempo” switch at that, but to my dismay VOX has a tiny little fraction of a switch as a tap tempo.
· To make my tweak more fun, a good friend in church plugged the 100V (yes 100V in Japan and 110V like in the US) adapter into a 220V Indian power socket to make the adapter smoke.
This is what I got to do…
- Narrowed down an old laptop bag that makes perfect sense to house this processor.
- Made a small pedal board out of plywood. Cut the board to size, glued a carpet and used a scotch tape to cover the back of the board.
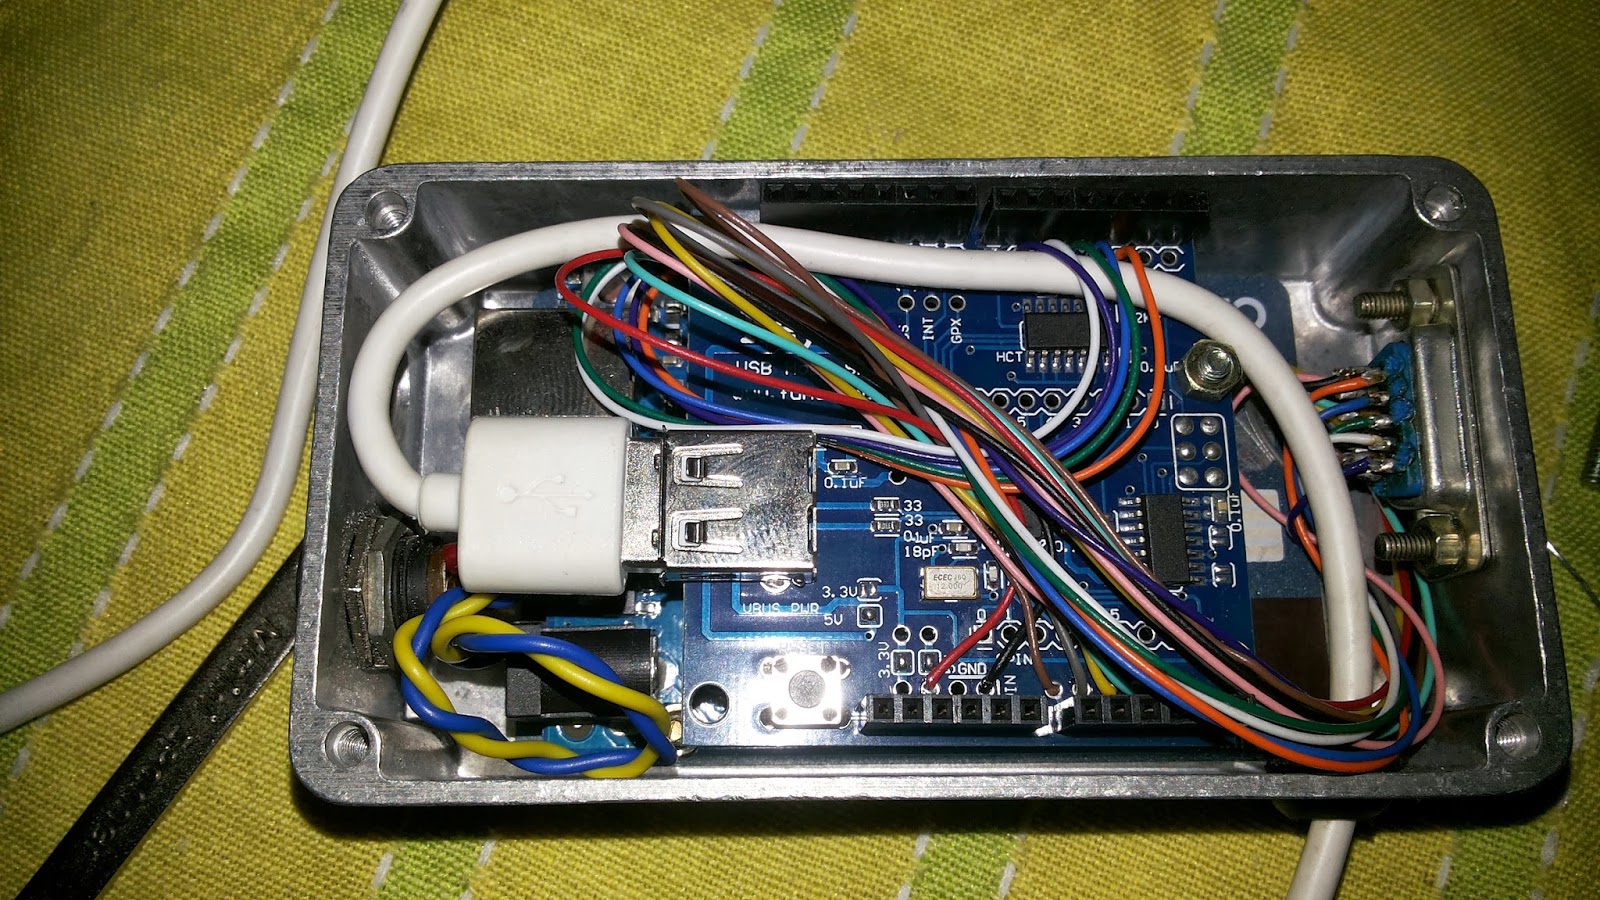
- Modded the VOX tone lab ST to fit an external tap tempo switch.
- Found the transformer in the wall wart busted. Got it rewound, but this time not 100V to 12V but to 220V to 15V. Put in a 12V regulator. Removed the connector that plugs in the socket at the wall and added a wire.
- Mounted the processor, tap tempo switch and the
power supply.
Voila….. there you go… all working and neat
pedal board.


Comments