Posts

My continued tryst with the Zoom G3X

Image
My fascination with this little tiny piece of gear seems to be increasing by the day… My latest (at least for this blog) has been this and like before – “make it more usable and easy to use” and so I looked at what else (apart from what I have done previously – “MIDI controller”) is there to be done. And lo and behold there was still a couple of things that could be done. This idea of course was borrowed from Ashbass (http://ashbass.com/AshBassGuitar/Zoom/) I have pretty much done the same mods that Ashbass has done but have only changed the locations and did not do the Patch select mods since I am already using the Arduino based MIDI controller for selecting the 8 predefined patches. With these mods I can also now do the following 1.        Tap tempo 2.        Scroll left and right & 3.        Start and Stop Rhythm Now how cool is that… J

My tryst with the Zoom G3X

Image
While my tryst with the zoom 70CDR continues, I happened to see some demos of the Zoom G3X and when I did dig deeper found that this processor in fact is loaded with features. So began my tryst with this Zoom G3X. At the onset this processor is loaded with the same kind of effects (though not so many) like the MS70CDR (which I love by the way), this has some nice Amp modelling and some decent dirt pedals. As in my previous blog, the major drawback for me in the MS70CDR were these things… 1.        No easy way to TAP TEMPO the tempo and use the TUNER 2.        No way to use my existing pedals / 70 CDR  in such a way that I could get dotted eighths 3.        Had to use a Amp modelling pedal like the Tech 21 series to get a decent sounding tone when running into the PA /mixer To address these drawbacks, when I saw the Zoom G3X, I jumped at it. And when I found out that the same MI...

My tryst with hacking a Zoom MS-70CDR - Part 2

Image
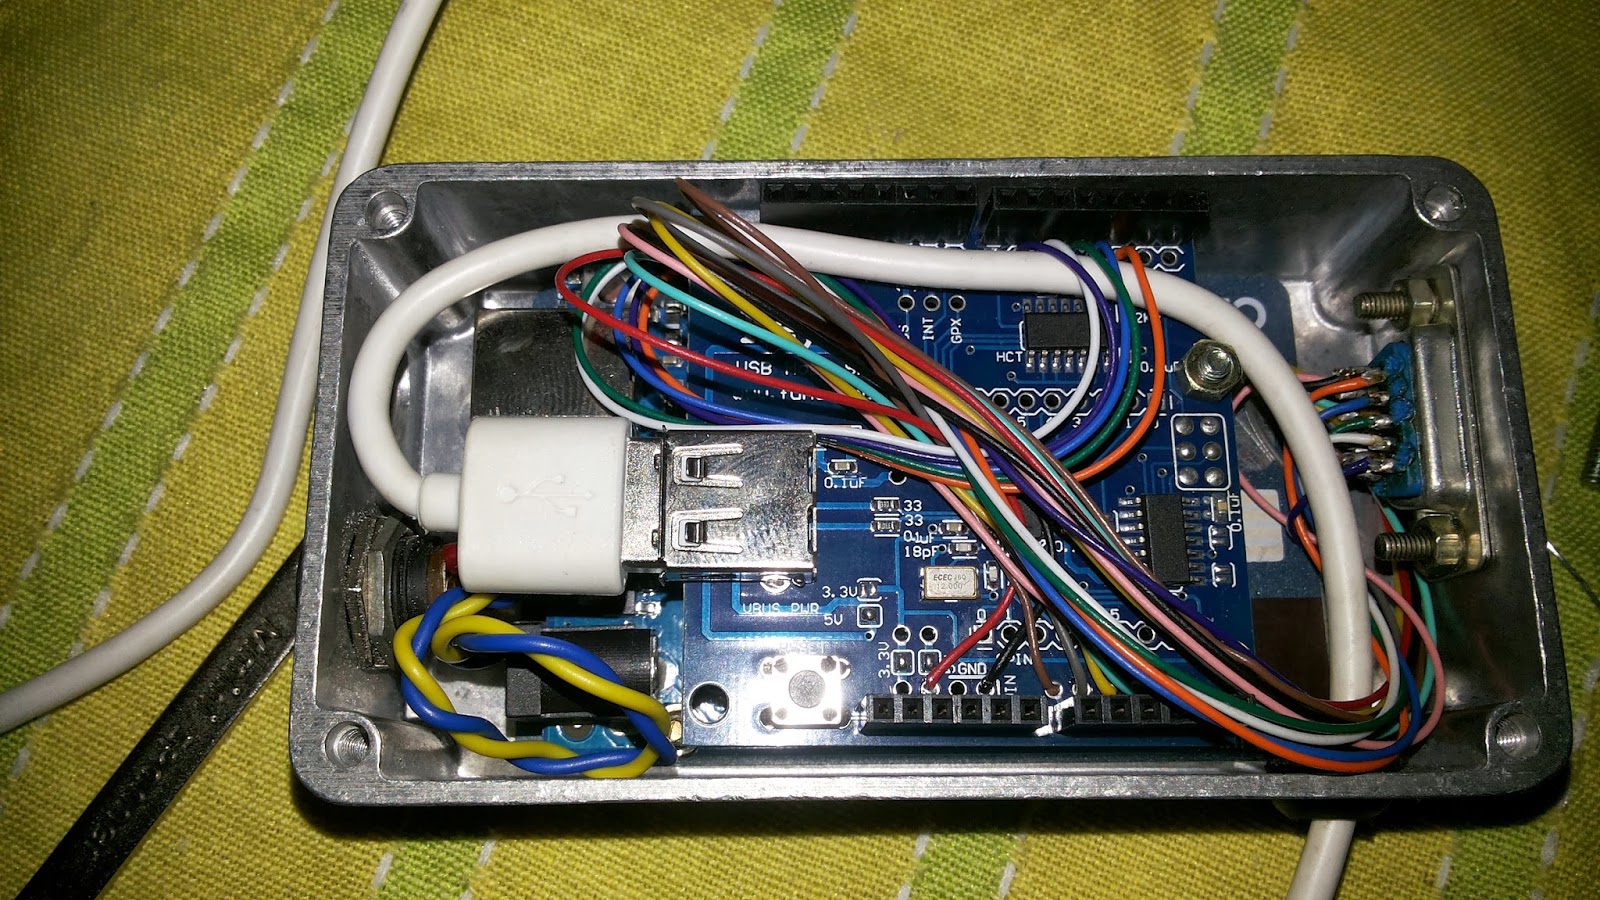
Making something is one thing, making it unique is another thing altogether .. but making that usable after the lightning strike of an idea is something nice and the feeling of doing that is something indescribable. That indescribable thing is what I am writing about. After making the MIDI controller for the MS70CDR, I found out that, though it worked like I wanted it to, it was not practical to use it live. And so I set about making that smaller / compact to set it on a pedal board... There was no sense making to too small, where the foot switches cannot be used without interfering between themselves.. and also there needs to be a USB shield along with the the Arduino... So I split the two.. make the Arduino UNO + USB shield into one small box and then make the foot switches into another one. This is the brains unit (Arduino UNO + USB shield) I took a simple Hammond 1590 box. Added a 15 pin D type connector (to connect the foot switch box) and made provisions for the USB cable ...

My tryst with Arduino and MP3 shield to help play ambient music at worship times

Image
Every worship musician knows that the right kind of music goes a long way in worshiping the LORD. If the right music is played at the right time, the worship experience is so refreshing and enriching. If you have the keyboard player with you while worshiping he/she can help in playing ambient pads or other soothing music helping in facilitating and making your job easier, but at most times, we might not have that luxury… Some worship leaders when leading solo, carry these ambient pads and play them out of their IPAD’s into a volume pedal and into the sound board… But if you are playing the guitar, then this task also becomes cumbersome… So, I wanted to do something that I can use like a guitar pedal…. (I like guitar pedals J ) Idea ·          Use an Arduino and a MP3 shield and make one… Goal ·          Play and loop a MP3 file (these ambient pads come for different scales...