My tryst with acoustic panels
Things
you need (for 7 Panels)
1.
Ply
wood – 12 mm – 6 ft X 4 ft = Rs. 900.00
2.
Labor
charges to cut them into 3 inches slabs = Rs. 300.00
3.
Metal
“L” clamps to make frame = 2” X 2” - 56 nos @ Rs. 5 each = Rs. 310.00
4.
Screws
– “4 X 20” – CSK - 224 nos = Rs 200.00
5.
Fabric
– behind the panels – 9 Meters @ Rs 40 per meter = Rs. 360.00
6.
Fabric - Front panel – 11 meters @ Rs 100 per meter
= Rs. 1100.00
7.
Small
metal L clamps to make hanger = 14 nos @ Rs 5 each = Rs. 60.00
8.
Misc.
nails and screws = Rs. 100.00
9.
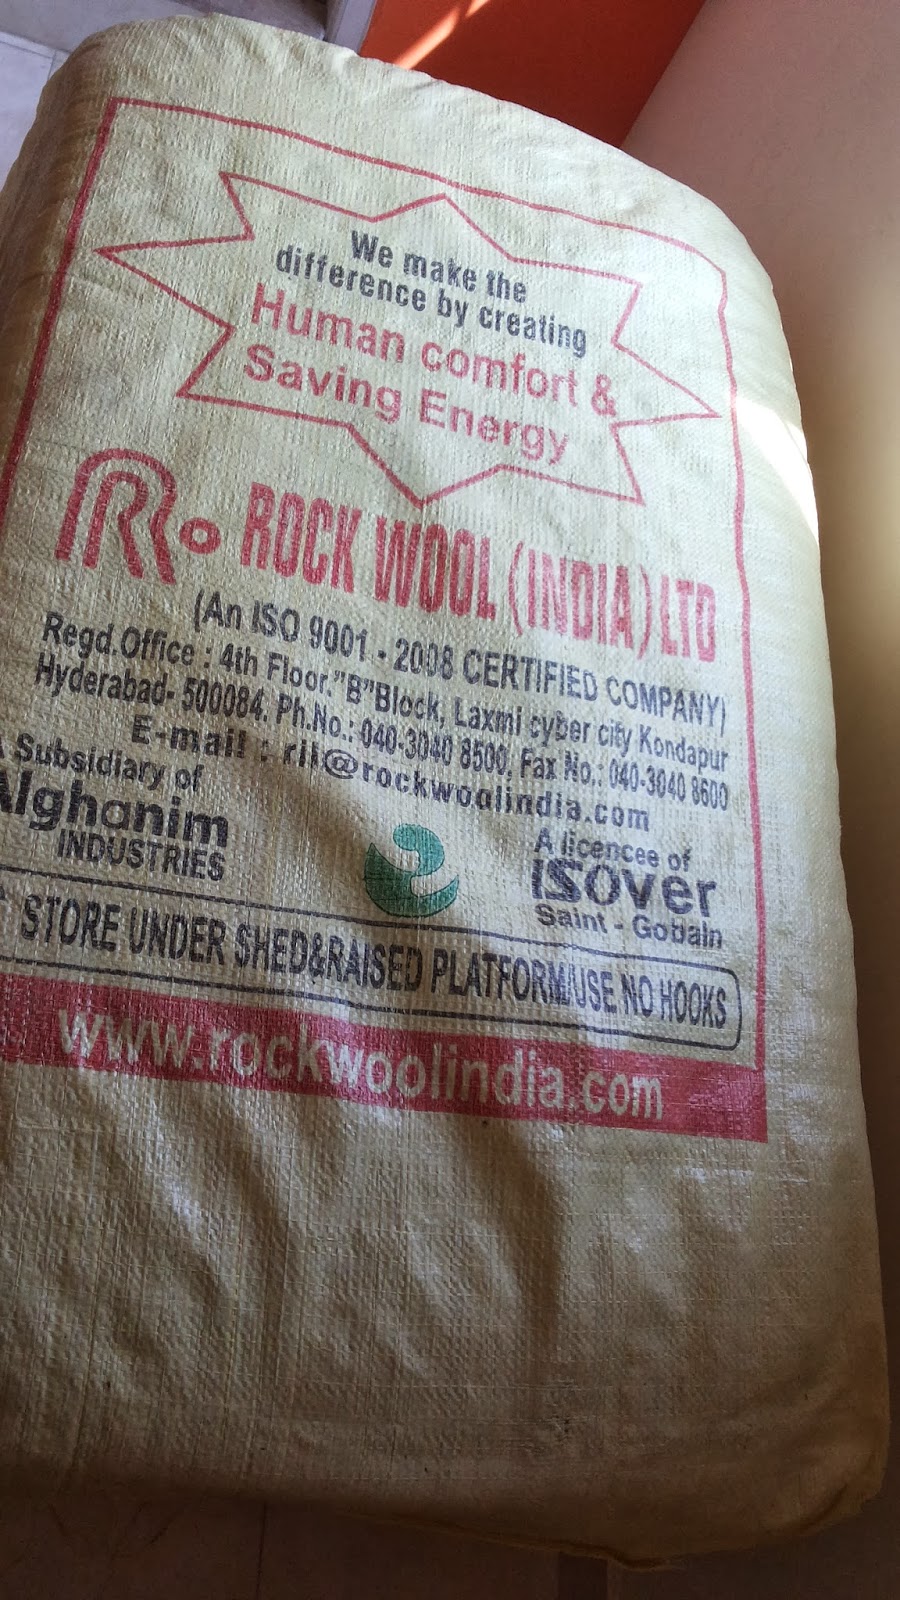
Rock
wool = 50mm thick – 64 Kg density = Rs. 2000.00 (inclusive of Rs. 500 –
transportation)


Tools
that you need
1.
Screw
driver
2.
Drill
with the right sized bits
3.
Hammer
 4.
Scissors
4.
Scissors
5.
Measuring
tape
6.
Pencil
7.
Safety
equipment – pair of gloves and breathing mask
8.
Don’t
remember, what else – but use your imagination J

And so
the mitigation of this ‘untreated’ to “TREATED” J (sounds nice doesn't it). (At least some treatment)
And so I
bagan in keeping with the wisdom of the “gurus”, to make some acoustic panels
for my home studio.
After
much searching, found one guy would sell one bag of Rock wool slabs and ship it
also… and boy was I glad and so …..
First
things first, why seven panels? The Rock wool slabs come in a bag of 14 and I figured
that, since they are quite thin, double it and viola the magic number 7.
Home
work- I looked at the videos and information in the web and they all talk about
making panels out of wood (not ply wood) and getting wood (decent quality)
cheap and at the sizes you want can be a daunting task when home depot is not
accessible. And so I had this brilliant idea of using plywood instead of wood
(it is going to be light and easily accessible and mostly cheap).
 After
buying the plywood, I got it cut from the shop itself and then I thought, how
hard could it be, let me just nail the darn thing and boy was I shocked. The
wood just split when I tried to make a frame….
After
buying the plywood, I got it cut from the shop itself and then I thought, how
hard could it be, let me just nail the darn thing and boy was I shocked. The
wood just split when I tried to make a frame….
Back to drawing
board… (just a phrase)
Then it
struck me, what better way to do this, then with some “L” clamps and screws. And
that is what I did.
 So I began
measuring the “L”clamps against each slab of wood, marked it for holes that
need to be drilled. Then drilled the holes and mounted one end of the “L” clamp
on all the small sized slabs (23” – This is based on the size of the rook wool).
So I began
measuring the “L”clamps against each slab of wood, marked it for holes that
need to be drilled. Then drilled the holes and mounted one end of the “L” clamp
on all the small sized slabs (23” – This is based on the size of the rook wool).


Now I
needed to nail the back fabric to the frames and chop the extra off.
Once this
was done, I turned the frame over with the fabric at the bottom and filled it
with two slabs of rock wool. Gave it a tight squeeze.
Now it
was ready for the main fabric to be mounted.
It is
very important that this is done carefully (and hence changing tone from I to
you J)
.
·
Lay
the fabric on the floor (evenly and clean)

·
Place
the frame with the rock wool in such a way that the backing fabric is on top.
·
Make
sure that there is enough fabric all around to help roll it over the frame.
·
Now
stretch the fabric starting from one end of the smaller size and start nailing
them to the frame from the center.
 ·
Do
the same thing at the opposite side of the smaller side
·
Do
the same thing at the opposite side of the smaller side
·
Now
repeat the process of the longer side.
·
Measure
and mount the small “L” clams to the frame to be used for hanging the panel.
Once
this is done, all that is needed to finish, is finish the edges… (this is easier
said than done)
·
You
would need to cut the excess pieces of fabric and then tuck one end and fold
the other end to give it that professional look. Now nail the fabric on to the
frame.
·
You
are DONE.


Comments